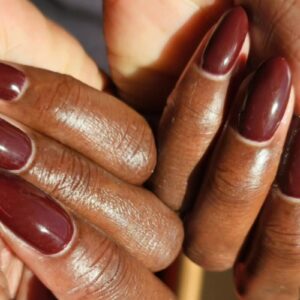
Glitter ombré nails

Step by Step
The Nail Lab educator, Oksana Smirnova, has created this gorgeously glittery ombré nail design.
Are you enjoying this content?
Join our community to receive more like this
Are you enjoying this content?
Join our community to receive more like this
Step 1
Remove old product, keeping just thin layer of gel and shape the nail (or make an extension). Prepare the nail as you usually would.
Step 2
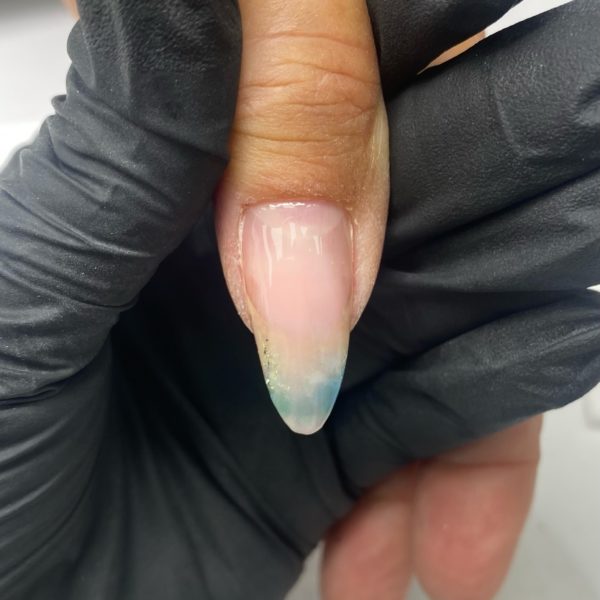
Apply a thin layer of a base gel or a clear hard gel then cure.
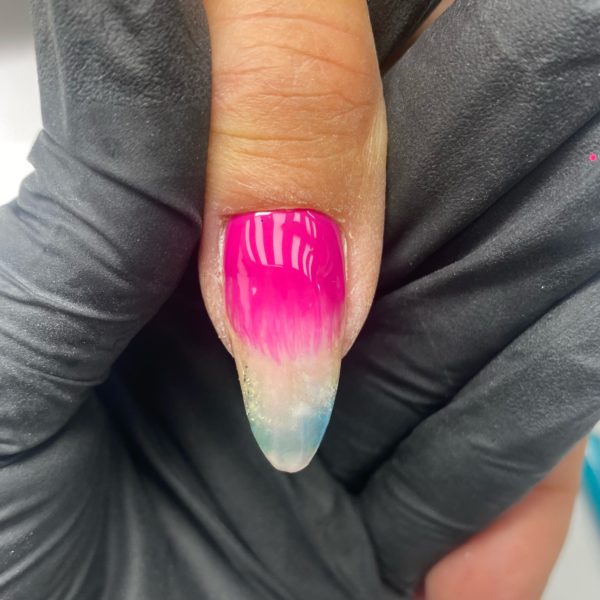
Step 3
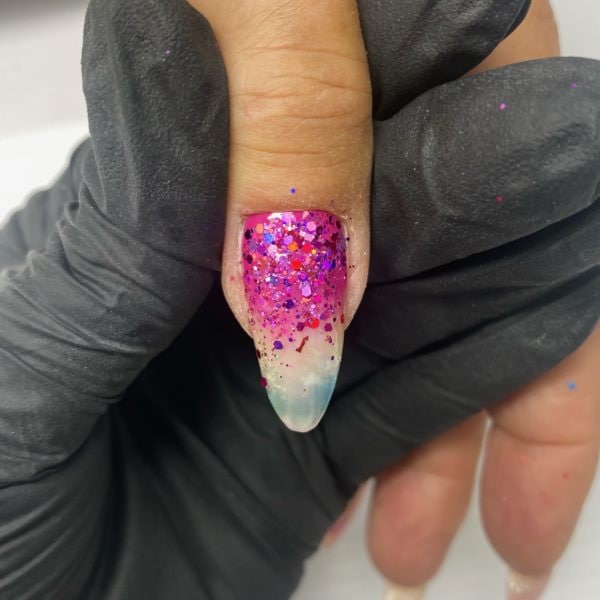
Apply pink gel polish near the cuticles and blend the colour down toward the free edge (creating a gradient). While it is still wet (not cured), apply glitter then cure.
Step 4

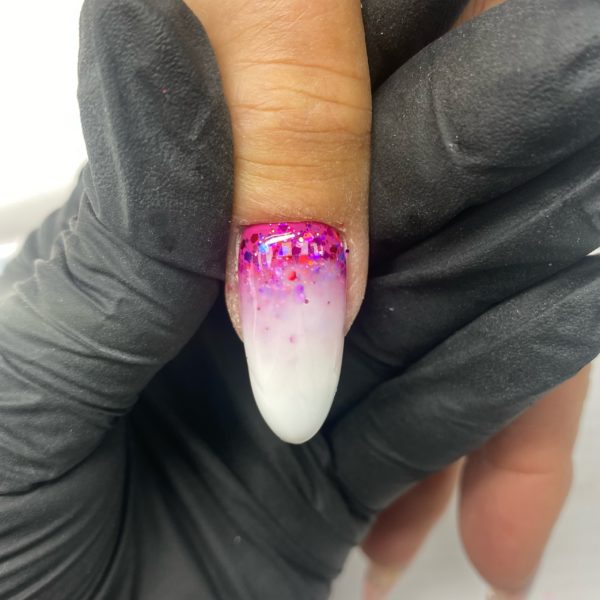
Apply a milky white gel, making sure you stop about 2-3mm from cuticles. This is to ensure you can still see some of the glitter underneath.
Step 5
Cover the glitter with clear gel and built the apex, then cure.
Step 6
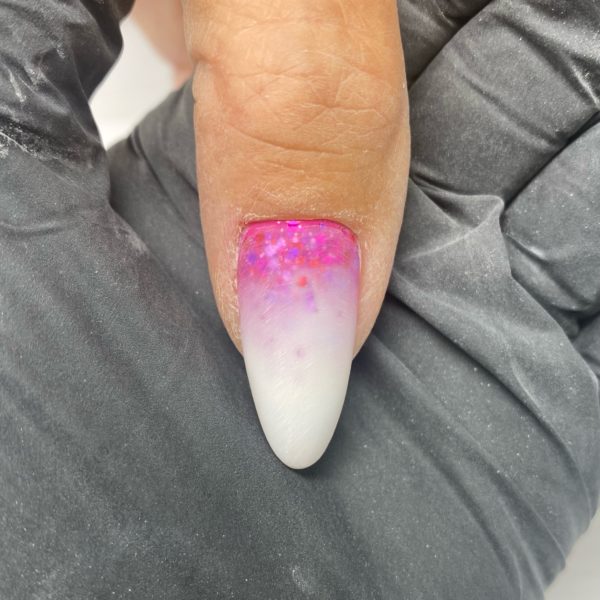
File the nails to achieve your desired shape.
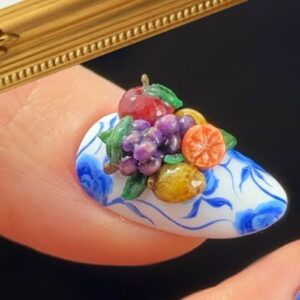
Step 7
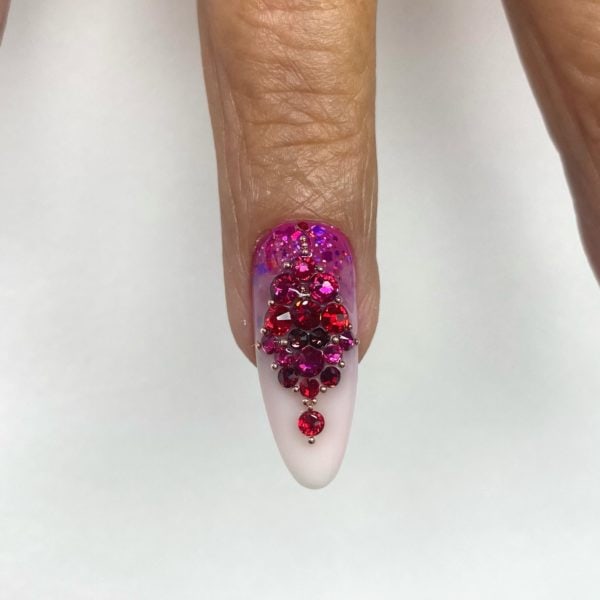
Apply shiny top coat and perhaps some crystals on one finger to create a 'feature nail'.