Hello Kitty nail art tutorial: simple & sweet step-by-step guide

Step by Step, Themed
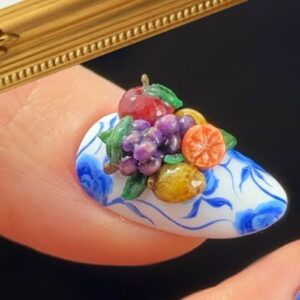
Want to create an adorable 3D Hello Kitty nail?
Cha Jieun, creative director of the Fiote nail brand, shows how…
Are you enjoying this content?
Join our community to receive more like this

Products used: Nail file, Fiote OZ Base Gel, Fiote Non-wipe Addiction Top Gel, Fiote Volume Mirror Gel, Fiote Blur Gel, Fiote Color & Syrup Gel (FP04, IF01, NA09), Fiote High Mirror Powder (H14), Fiote Artist Brush (A2 Slim Liner), Fiote Gel Starter, hand-made parts, LED lamp.
Are you enjoying this content?
Join our community to receive more like this
Originally published by NAILHOLIC.
Step 1
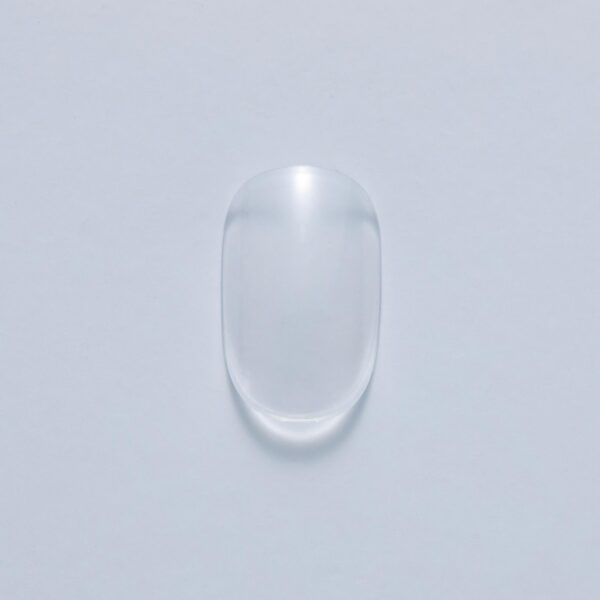
After prepping the nail, apply Fiote OZ Base Gel and cure.
Step 2
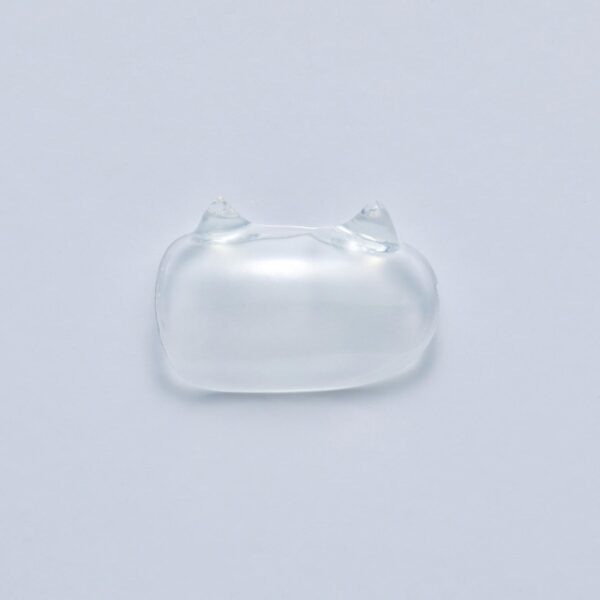
Design Hello Kitty’s ears in 3D and cure.
Step 3
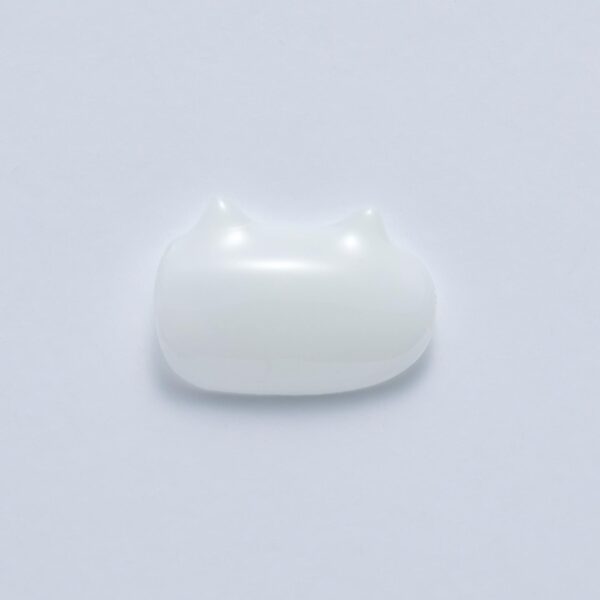
Apply Fiote's IF01 shade and cure.
Step 4
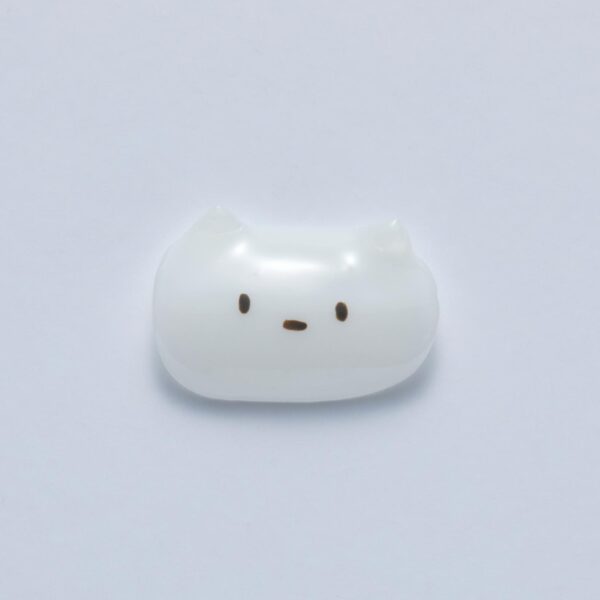
Paint the eyes and nose using Fiote's NA09 hue and A2 Slim Liner. Cure.
Step 5
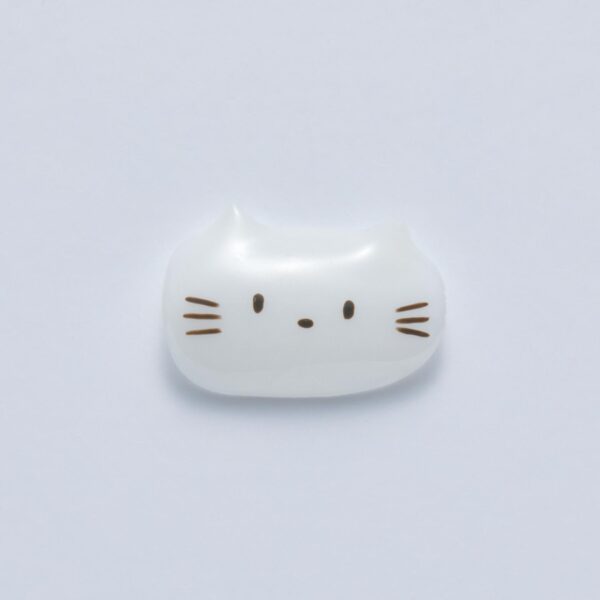
Paint whiskers using NA09 and the A2 Slim Liner. Cure.
Step 6
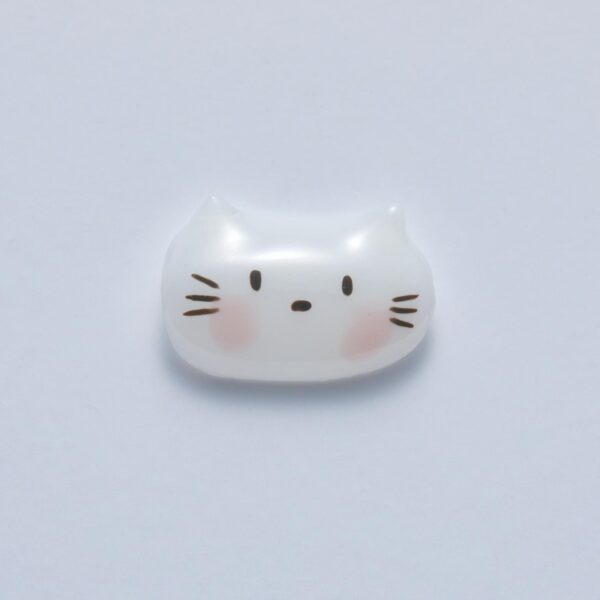
Apply Fiote Blur Gel then create the pink cheeks using Fiote shade, FP04. Cure.
Step 7
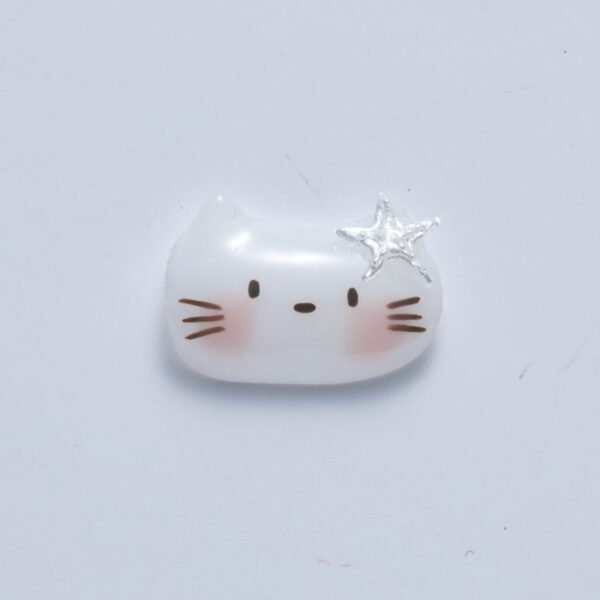
Add the hand-made decoration using Fiote Volume Mirror Gel and cure. Apply Fiote Non-wipe Addiction Top Gel and cure.