Award-winning LGBTQ+ nail artist: 5 steps to create a blooming Pride rainbow nail

Seasonal & Occasions, Step by Step
Miami-based nail pro & CEO of Nails BTCH., Tatiana Savostikova, shares her LGBTQ+ experiences and a blooming gel Pride step-by-step…

My LGBTQ+ journey began a long time ago in Russia, and the community I have found as a result means everything to me. It champions freedom, love and self-expression that cannot be confined by rules. I believe that the nail industry should be more inclusive of trans and non-binary nail enthusiasts, as manicured hands have traditionally symbolised femininity.
Are you enjoying this content?
Join our community to receive more like this
Why are you proud to be part of the nail community?
I believe true style lies in details, and nails are a perfect way to showcase identity. Nail appointments are more than treatments – they’re moments of support and self-care. I’m proud to help students develop their talents and build careers through my Level Up course, which offers time-saving techniques to attract clients and avoid common mistakes.
Are you enjoying this content?
Join our community to receive more like this
LGBTQ+ techs – prioritise yourself, embrace your uniqueness and proudly bring beauty into the world through nail artistry!
Follow Tatiana on Instagram: @nailsbtch
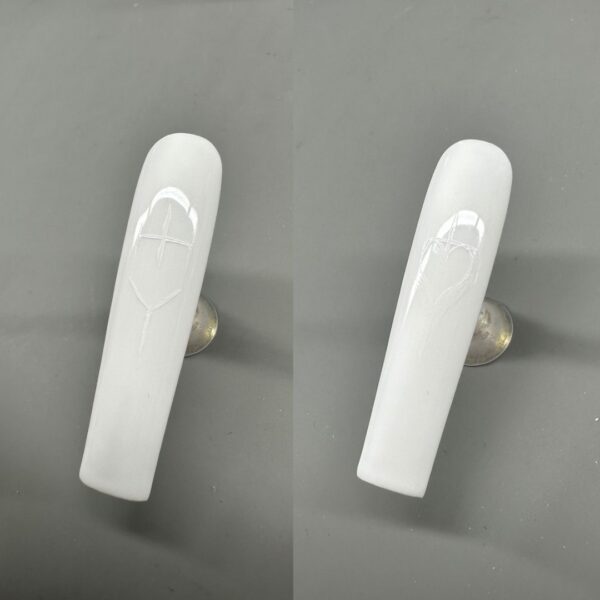
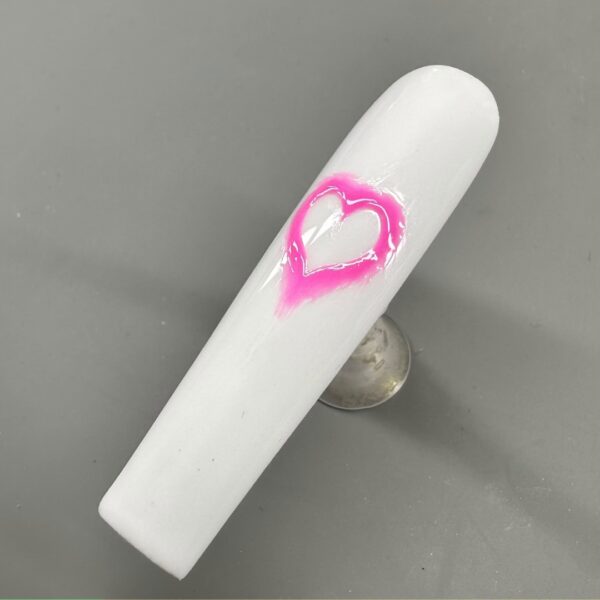
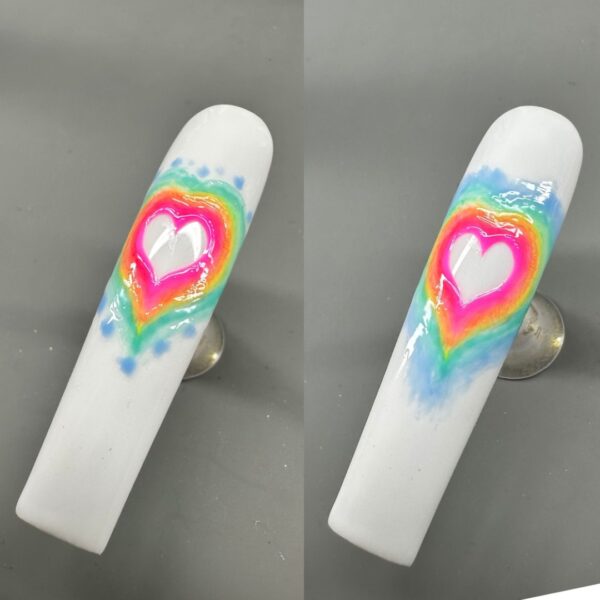
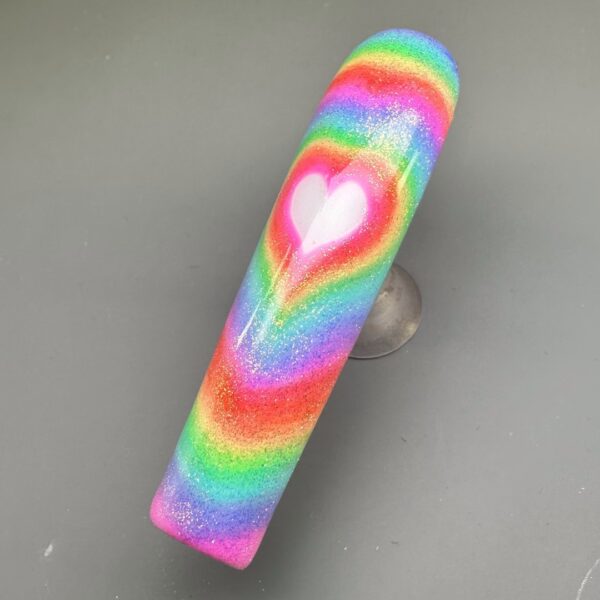
Step-by-step: Blooming Pride flag
You will need:
- White gel polish.
- Fine liner brush.
- White gel paint.
- Blooming gel.
- Gel polishes in key colours of the Pride flag (I chose pink, red, yellow, green, light blue and dark blue).
- Glitter top coat.