
Nail art tutorial: textured Easter egg pattern

Seasonal & Occasions, Step by Step
Warrington nail tech, Katarzyna Korzeniak of Kate’s Simply Nails, shares how to create a cracking Easter egg nail art design using gel polish.
Are you enjoying this content?
Join our community to receive more like this
Are you enjoying this content?
Join our community to receive more like this

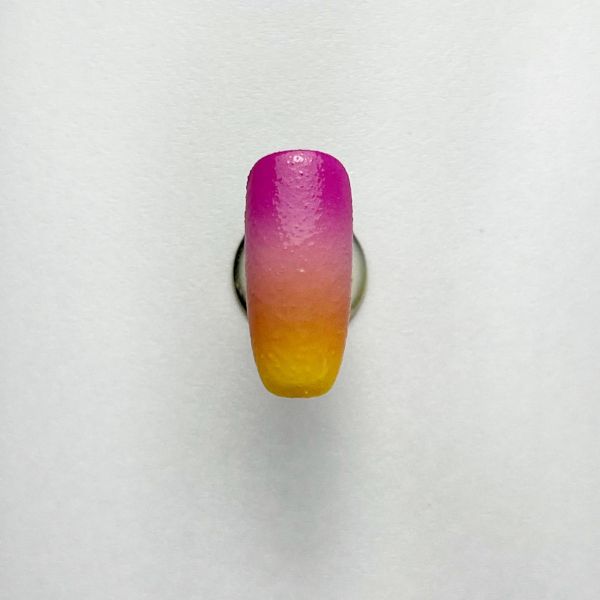
Step 1

Prep the nails and apply four nail shades from the top of the nail to the base. I used fuchsia pink, pastel pink, orange and bright yellow gel polish shades.
Step 2
Use a nail art sponge to blend the colours together, creating a seamless gradient from fuchsia to yellow. Cure.
Step 3
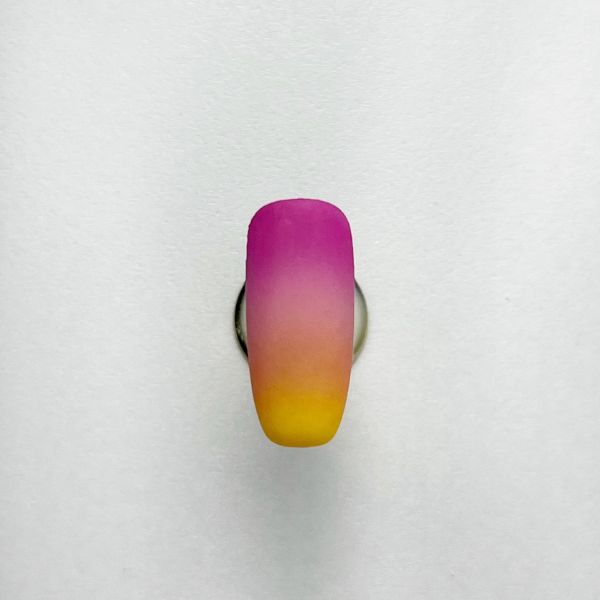
Apply a matte top coat to prepare for the textured design.
Step 4
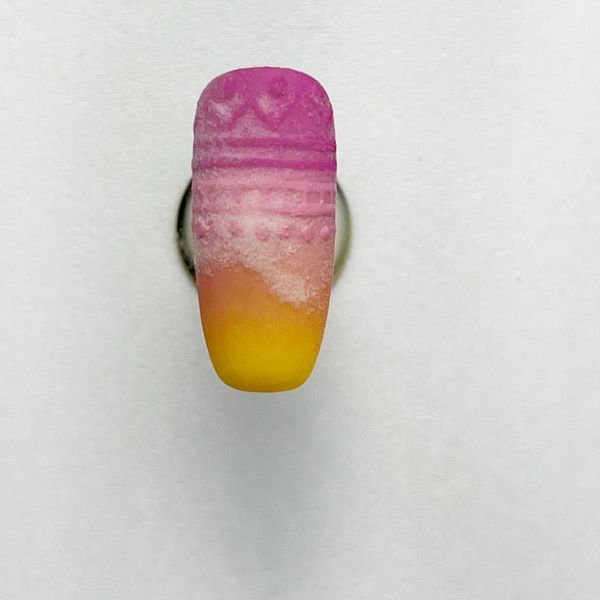
Using the appropriate gel polish shade, paint chevrons, dots and lines over the matte gradient. Sprinkle with clear acrylic powder and cure.
Step 5
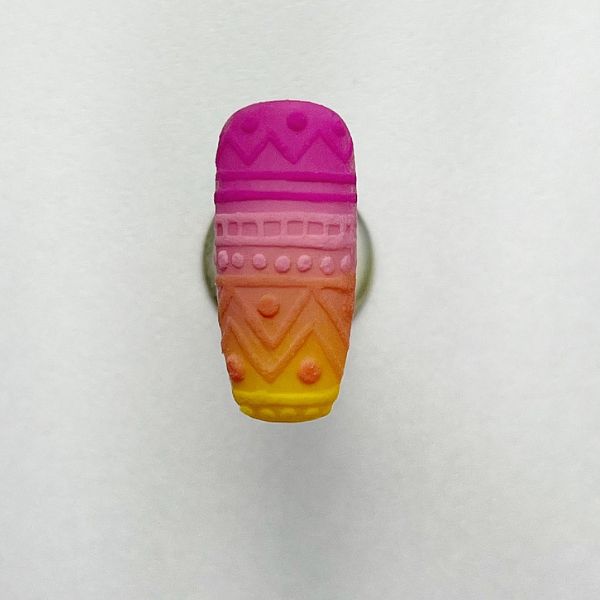
Complete the design with patterns all the way across the nail.