
OPI’s Neon Ombré

Step by Step
OPI UK educator & capability coordinator, Belinda Price, reveals how to create a salon-friendly ombré design using the OPI Neon Summer collection, available via www.opiuk.com
Are you enjoying this content?
Join our community to receive more like this
Are you enjoying this content?
Join our community to receive more like this
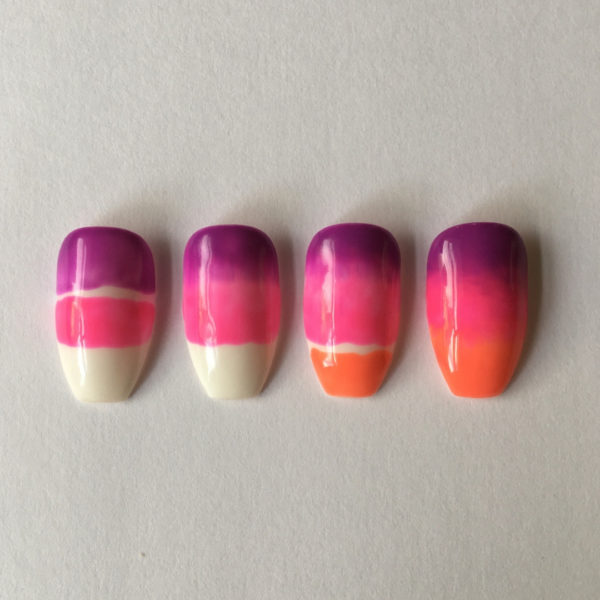
Step 1
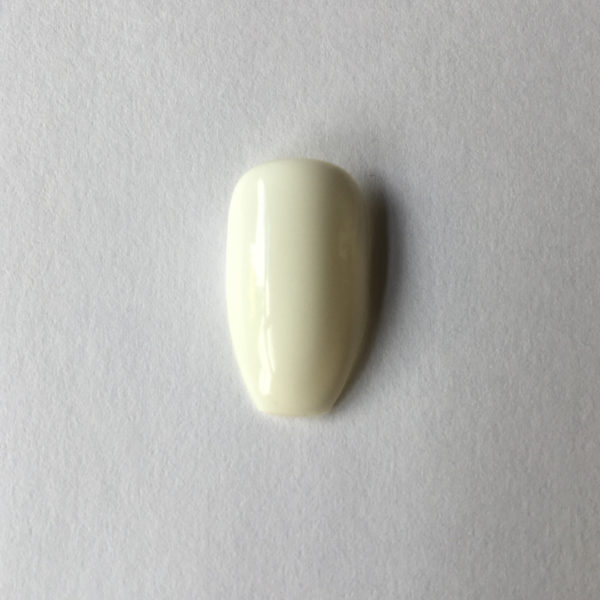
Prep the nail following the OPI prep steps for GelColor. Apply GelColor base coat followed by two coats of Alpine Snow following OPI’s GelColor procedure, finishing with a cured layer.
Step 2
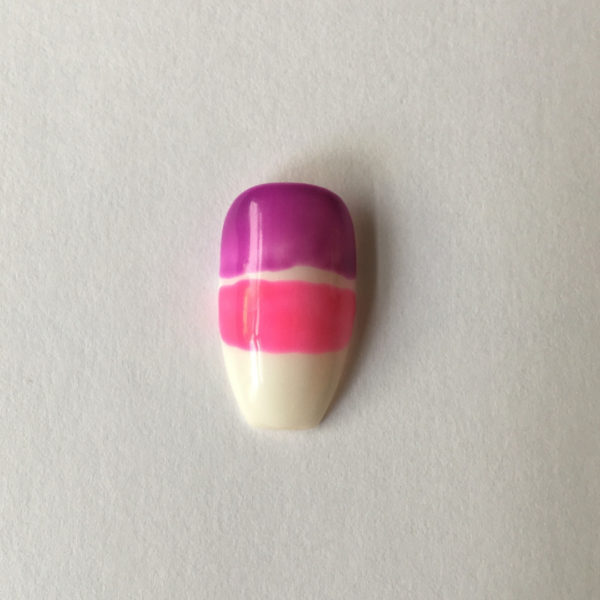
Apply a band of OPI GelColor in Positive Vibes Only. Do not cure. Apply a band of OPI V-I-Pink Passes. Do not cure.
Step 3
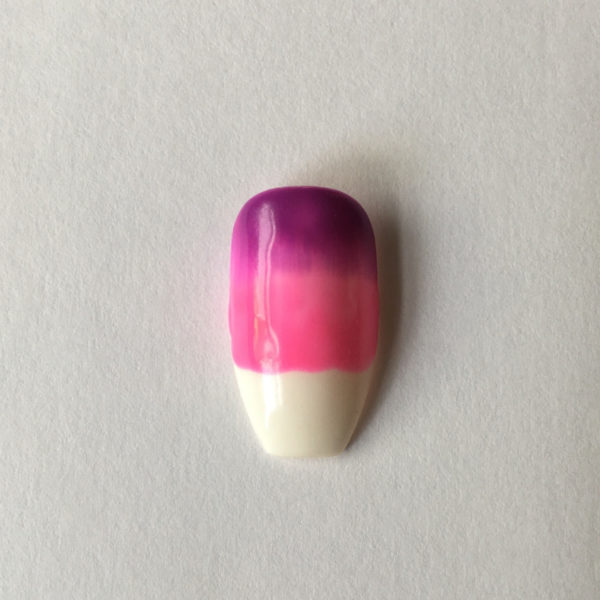
Gently blend the two colours with feather light brush stokes using the fine brush from the Artist Series nail art brush set.
Step 4
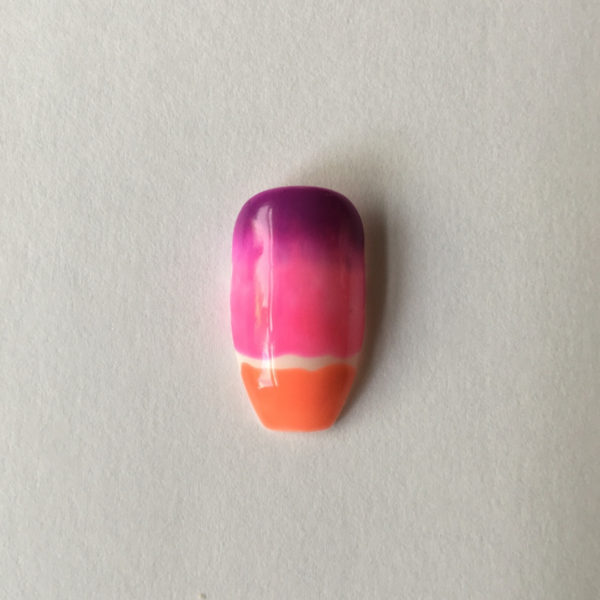
Add a band if OPI GelColor in Orange You A Rock Star.
Step 5
Blend with the pink as before (some people prefer to blend with a sponge) and then cure for 30 seconds in the OPI LG Gel curing lamp.
Repeat the steps above for a second colour coat.
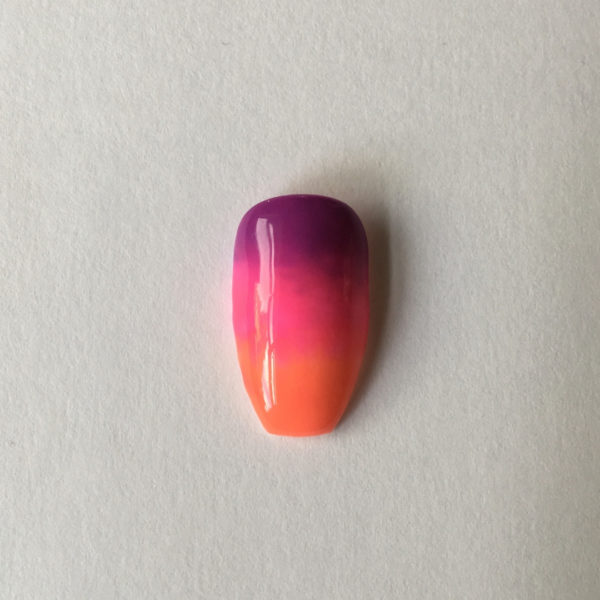
Step 6
Once happy with the depth of colour and effect, apply OPI GelColor Top Coat. Cure for 30 seconds. Wipe thoroughly with OPI Nas 99 and a Lint Free Wipe. Apply ProSpa Nail and Cuticle oil to the Cuticle and gently massage in to finish.