Pink Ribbon Nail Art

Seasonal & Occasions, Step by Step
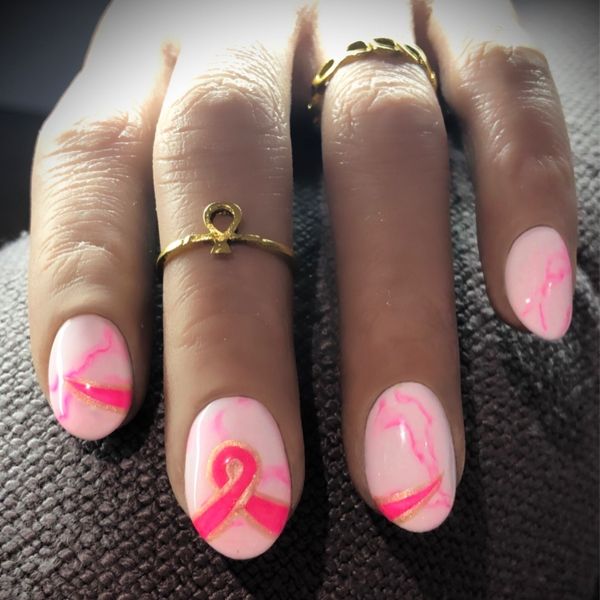
Show your support for Breast Cancer Awareness Month in October with a pink ribbon on nails.
Are you enjoying this content?
Join our community to receive more like this
Are you enjoying this content?
Join our community to receive more like this
Salon System Gellux expert, Julie-Anne Larivière, reveals a step-by-step guide to this design, create using Gellux products available from wholesalers nationwide.
Step 1
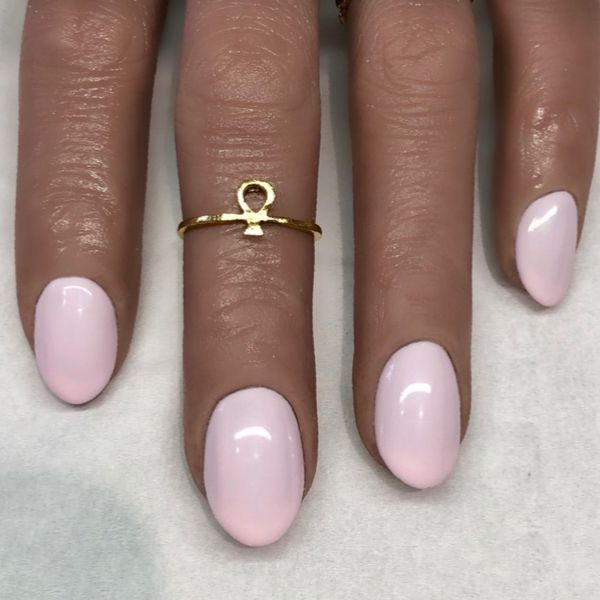
Prep the nails. File to shape and push back cuticles and buff nail plate. Cleanse nails with GELLUX Profile Prep + Wipe. Apply GELLUX Fast Bond to nails and let dry. Apply GELLUX Easy Off Base Coat and cure, then apply two layers of GELLUX Piggy Pink, curing after each layer.
Step 2
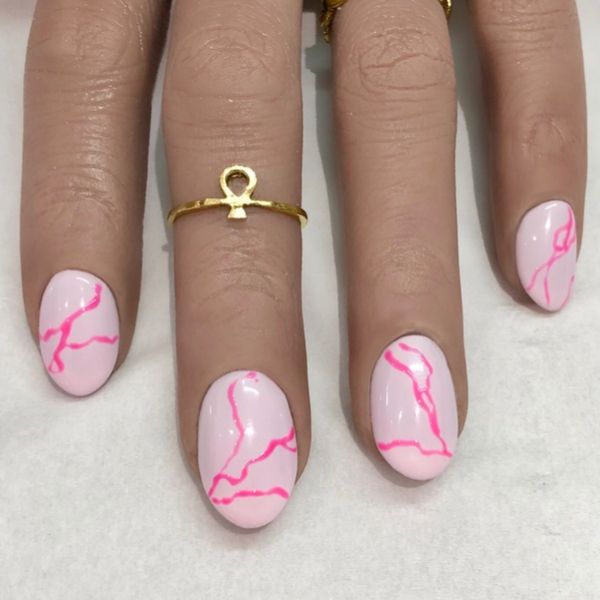
Dip a medium liner brush into GELLUX You Can Can and create some uneven lines on each nail. Do not cure.
Step 3
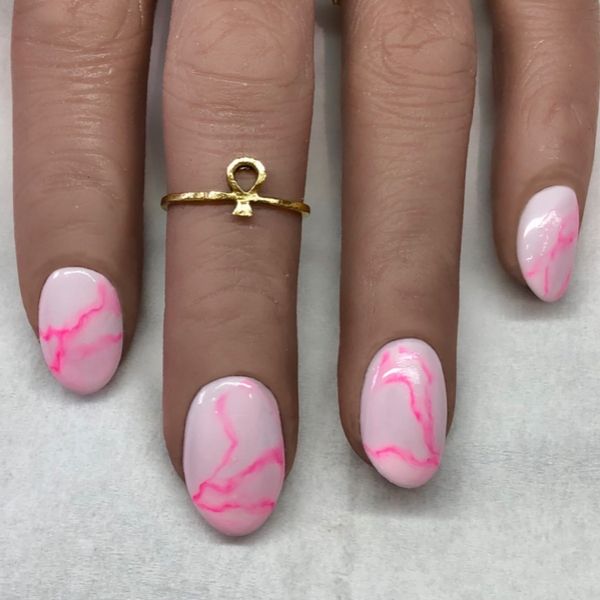
Dip the same liner brush into GELLUX Easy Off Base Coat. Gently go over the lines you created using dabbing motions. Leave it to bloom, you can blend these a little more if they haven’t spread enough. Cure.
Step 4

Using the same medium liner brush, dip into GELLUX You Can Can and create a bow on the middle finger and carry the ribbons on to the index and ring finger, and cure.
Step 5
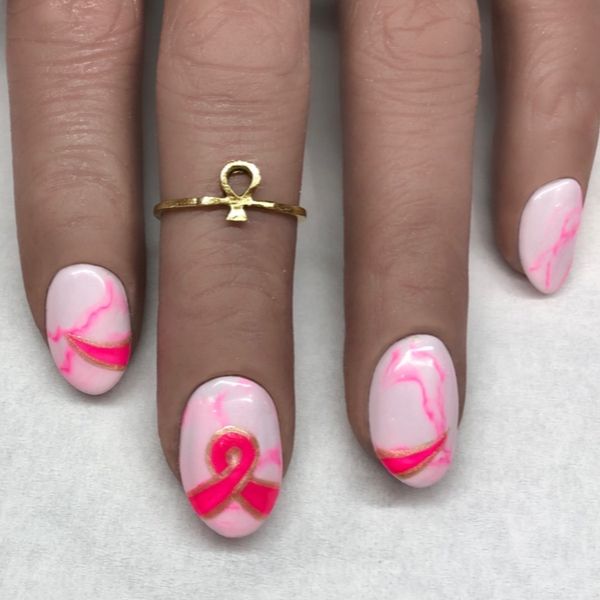
With a fine liner brush, dip into GELLUX Goldmine and outline the bow, and cure.
Step 6
Apply GELLUX Shiny Top Coat and cure. Wipe with GELLUX Prep + Wipe and apply GELLUX Nail & Cuticle Oil.