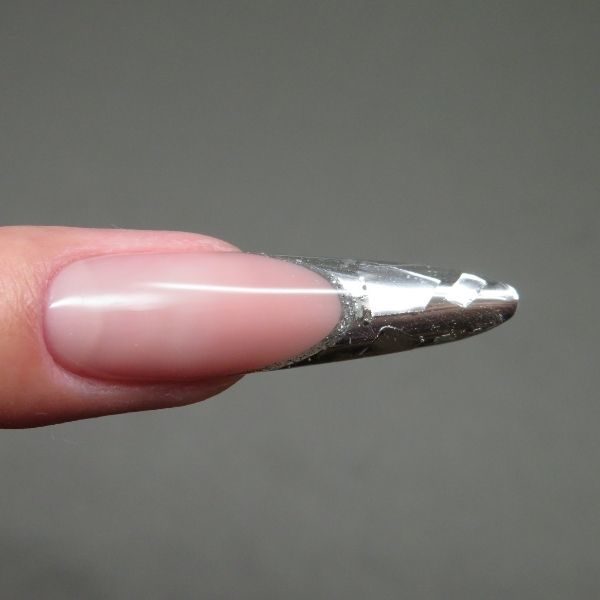
Silver French nail design

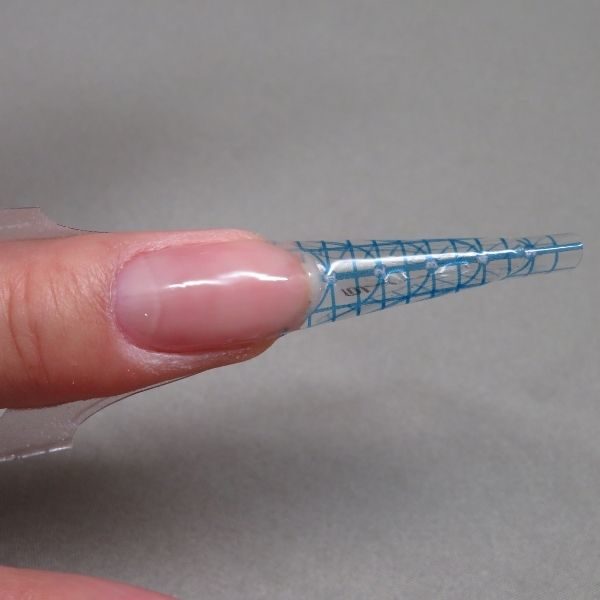
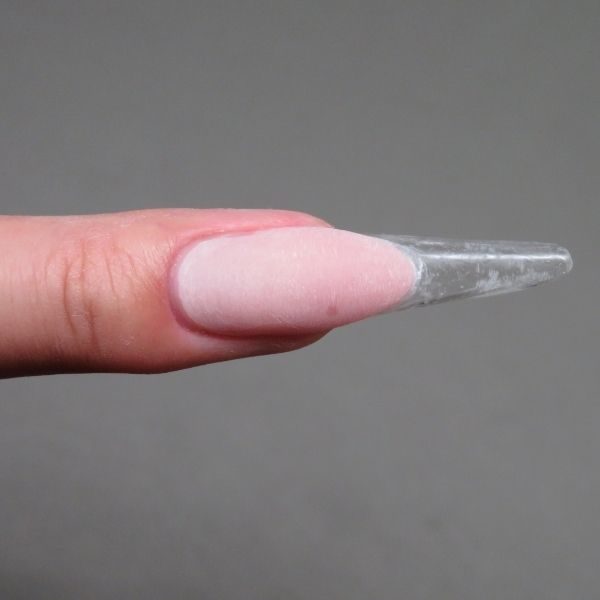
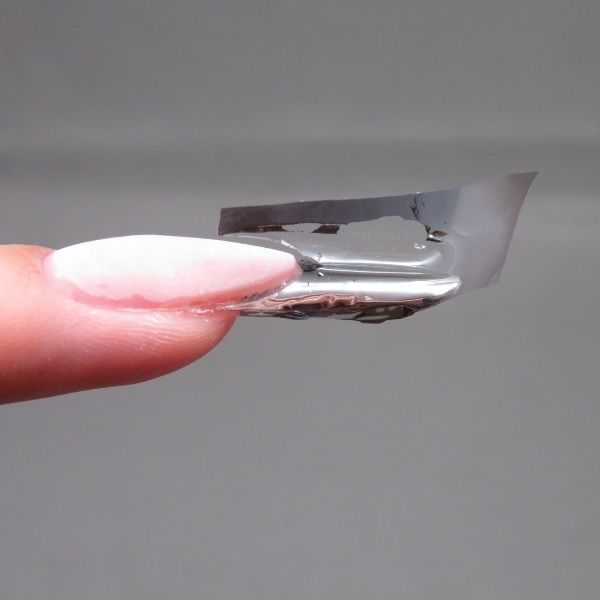
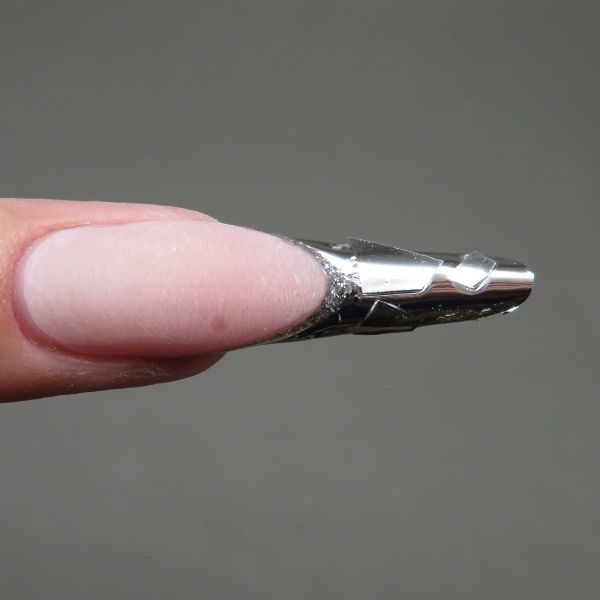
Step by Step
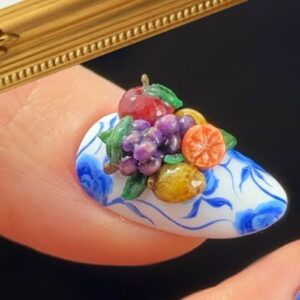
Tokyo-based nail artist & Nailympia London champion, Genki Itou, shares the steps to his latest design.
Are you enjoying this content?
Join our community to receive more like this

・Business name: Nail Atelier GENKI
・Location: Tokyo, Japan
・Nationality: Japanese
・Years in Nails: I started learning at the age of 16 and became a professional at the age of 17; this is my 15th year.
・Nail Brand You use: Any brand. This design was created using IBD, Christrio & Crystal Parade brands.
・Role in Industry: Cal gel educator, Japan Nailist Association certified instructor & Crystal Parade ambassador (UK)
・Favourite Nail Tool: ️ My one stroke brush️
・What Inspires Your Work: I listen to music while I sculpt and often associate colours and shapes with musical instruments such as violins, pianos and Japanese drums.
・Who You Admire: Japanese friends, as well as friends I’ve met at the Thai international competition and while competing at Nailympia London.
Are you enjoying this content?
Join our community to receive more like this
・Fav Nail Technique You’ve Mastered: One stroke & fine painting.
・What Lockdown Has Taught You: I was always patient, but now I’m even more so. Everyone in the world is worried, so it’s easier to view life from the perspective of others since we are living a shared experience.
・An Affirmation You Love: Take good care of yourself. Take good care of the people around you.
・Your mantra: Just be yourself.
@crystalparade1
@ibdnailsuk
@christrionails