Spring foil & daisy nail design tutorial

Floral, Spring/Summer, Step by Step
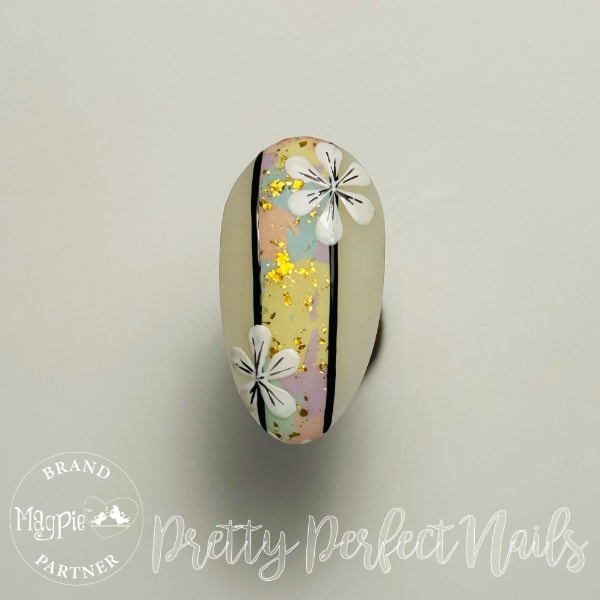
Magpie Beauty brand ambassador, Rachel Mansfield of Pretty Perfect Nails, serves up this spring foil mash-up, complete with daisy styling.
Are you enjoying this content?
Join our community to receive more like this
Are you enjoying this content?
Join our community to receive more like this
Step 1
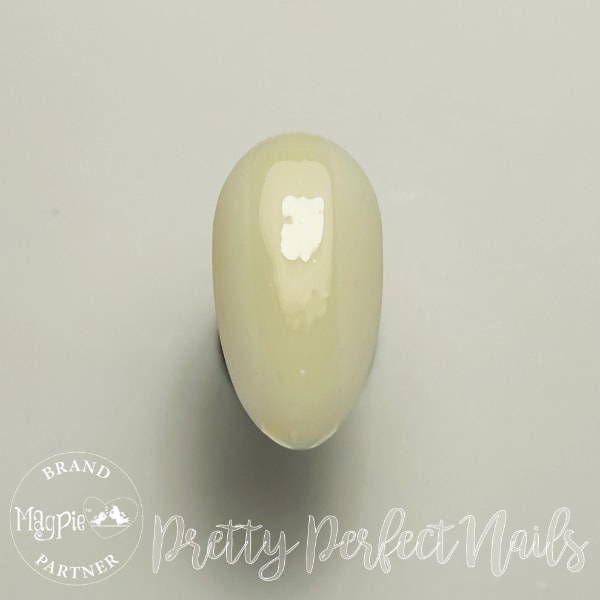
Apply a base coat and cure, before applying your chosen base colour and curing. Using foil gel, create a think line down the middle of the nail and cure.
Step 2
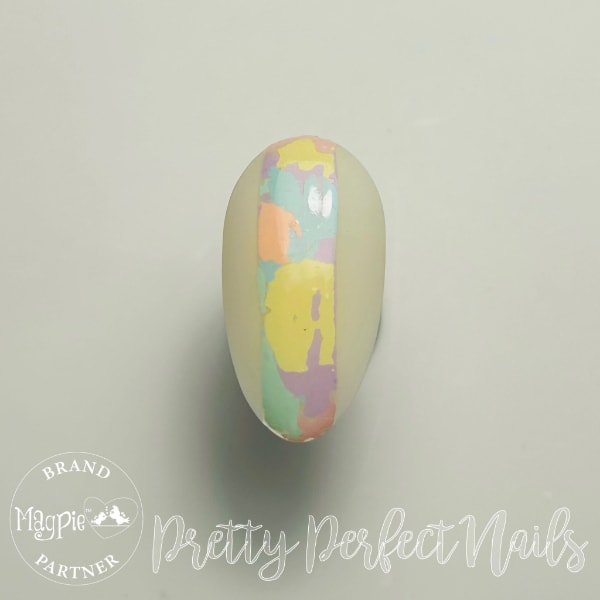
Choose five foils of your choice and dab them onto the cured gel down the middle, to create a mash-up of foils.
Step 3
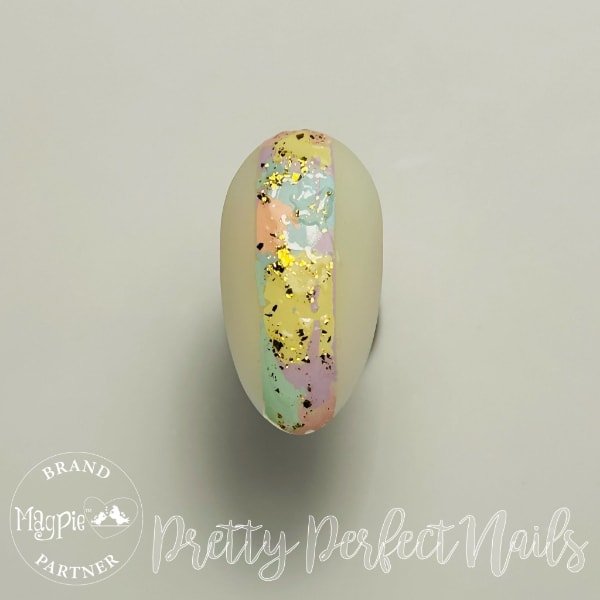
Using a gold foil leaf mix or a mixed glitter of your choice, add it on top of the foils in random places and once happy, cure. Apply a matte top coat to the design and cure.
Step 4
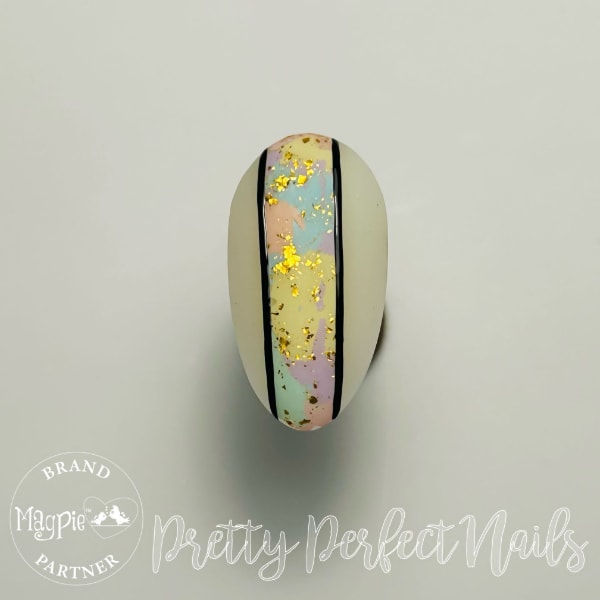
Using a black gel paint and striper brush, paint lines down both edges of the middle line to give it a border and cure.
Step 5
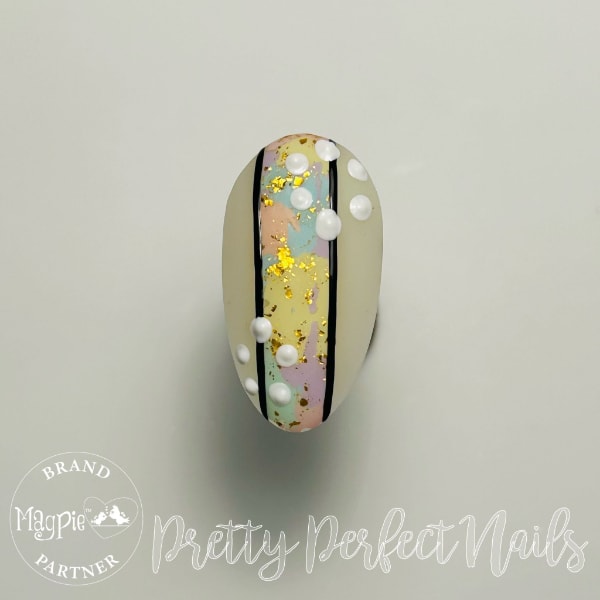
Using white gel paint and a dotting tool, place five or six dots in the shape of a petal at both the top and bottom of the nail.
Step 6
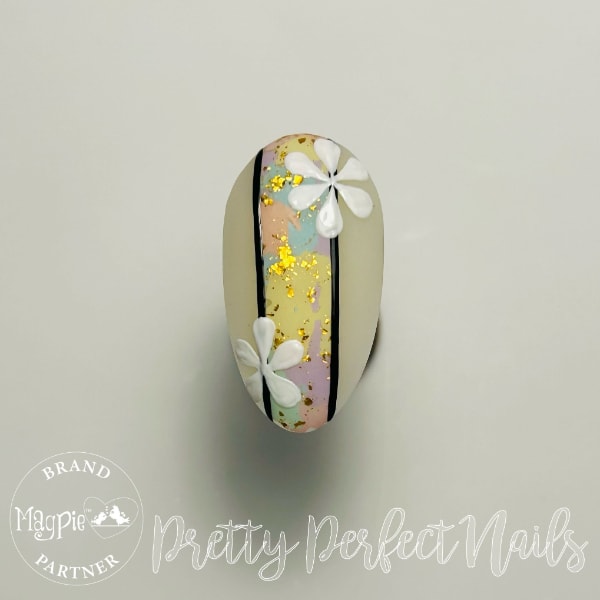
Use your striper brush to connect the dots in the middle, creating petal shapes, and once happy, cure.
Step 7
Using black gel paint, add some small thin lines in the middle of the petals and cure.
Step 8

Add a dot in the middle of each daisy using yellow gel paint and a dotting tool, and cure to complete the design.