Sweet Cherries

Step by Step
See if you can create this realistic and mouthwatering cherry design by Anastasiia Morozova. Perfect your shading and add water drop placement – and your design will look good enough to eat!
Are you enjoying this content?
Join our community to receive more like this
Are you enjoying this content?
Join our community to receive more like this
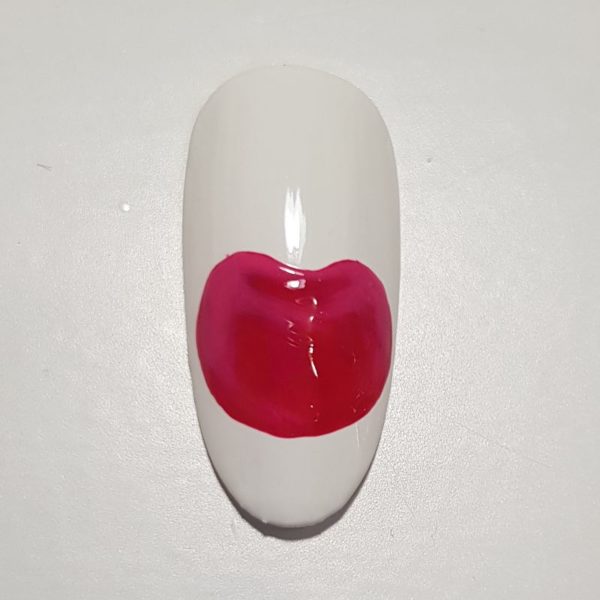
Step 1
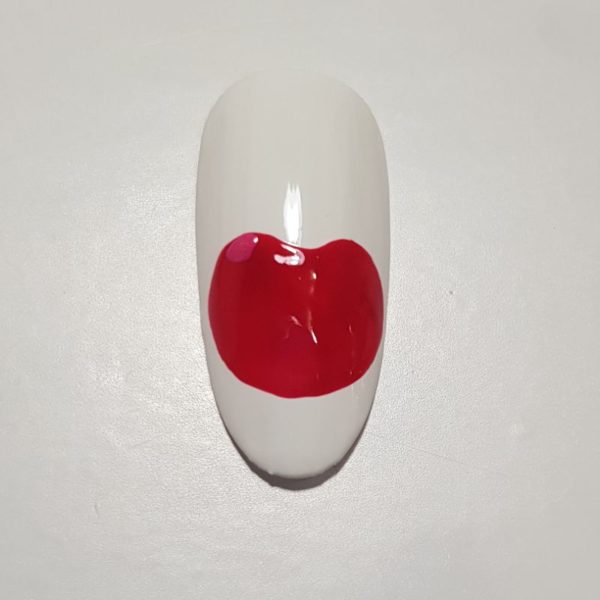
Paint the nail in your chosen background colour. Cure. Paint a cherry shape with a red gel polish and cure.
Step 2
Mix your red gel polish with white and lighten the areas of your cherry on the area where light falls. Cure.
Step 3
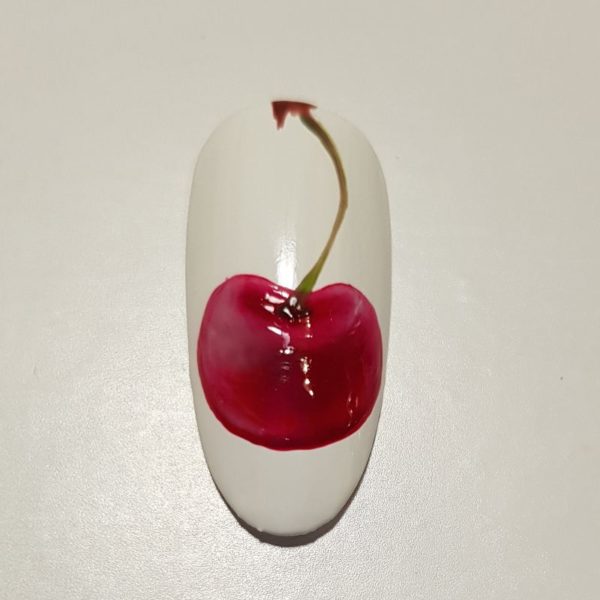
With a darker red gel polish, add shadow to your design to create contrast. Cure. Add a curved stem in green and brown tones. Cure.
Step 4
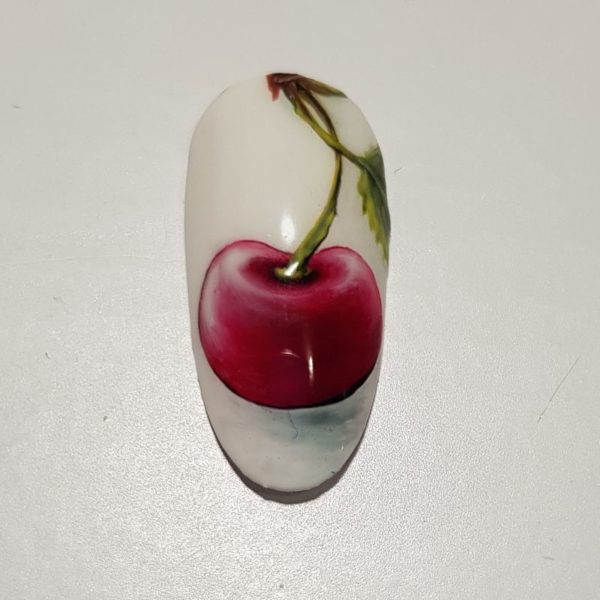
Add leaves. Outline and add detail to the cherry with a black gel paint. Add shadows under the cherry, too. Cure. Apply your top coat and cure.
Step 5
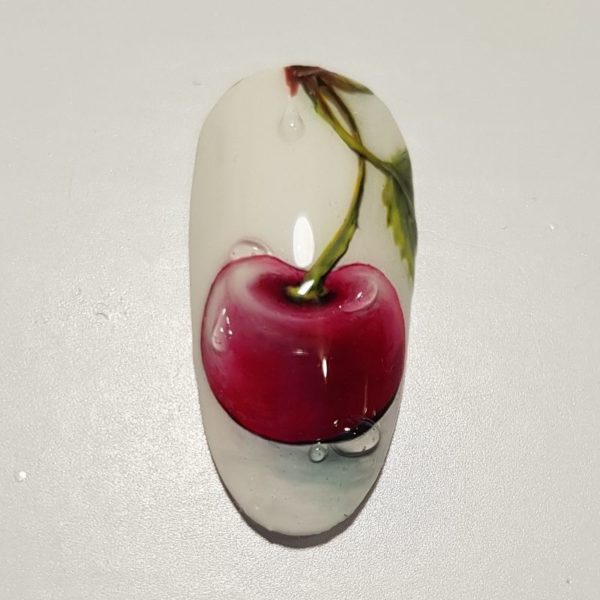
Using a thick builder gel or a very thick top coat, create water drops on the fruit for a multidimensional look. Cure.