Valentine’s love letter nails: stamp step-by-step

Seasonal & Occasions, Step by Step
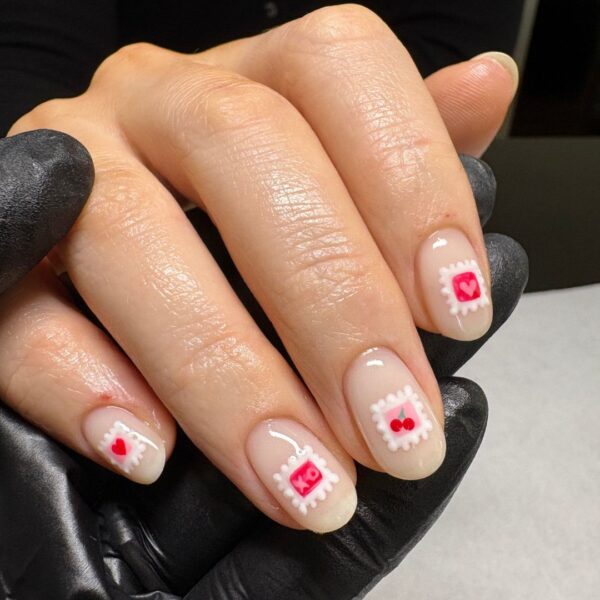
Chic, utterly charming and perfect for Valentine’s Day, this stamped nail look by Mii Cosmetics pro ambassador, Hayley McColm of @h.e.r_nails, tells a love story from the fingertips.
Are you enjoying this content?
Join our community to receive more like this
Hayley used the following Mii Cosmetics products, available via www.gerrardinternational.com:
Are you enjoying this content?
Join our community to receive more like this
- Care + Protect Gel Base Coat.
- Statement Gels in Sheer Elegance, Only Say Yes, Fondant Fancy, Indulgent Heart and Positively Playful.
- Neat + Tidy Dotting Tool.
- Seal + Shine No-Wipe Gel Topcoat.
Check out eight steps to recreate the look below…
Step 1
Prep the nails, apply Care + Protect Gel Base Coat and cure. Apply two coats of Statement Gel in Sheer Elegance, curing after each application. Use a thin nail brush and Statement Gel in Only Say Yes to create a rectangular shape in the centre of each nail. Cure.
Step 2
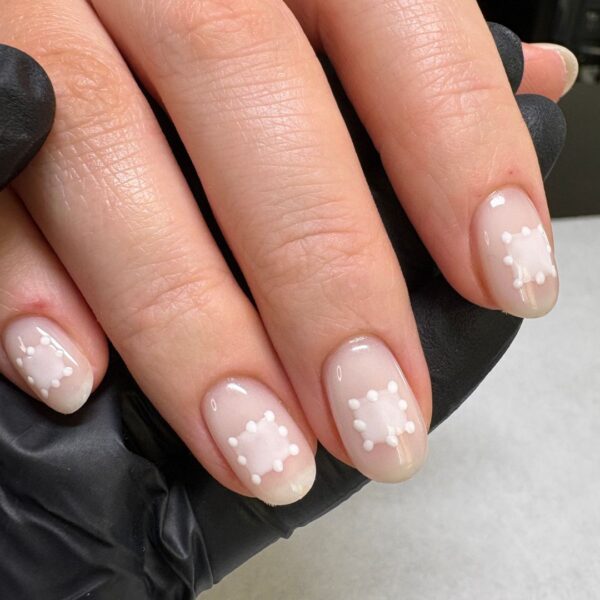
Using the Neat + Tidy Dotting Tool and Only Say Yes, add eight dots around each rectangle, placing them at the corners and midpoint of each side. Cure.
Step 3
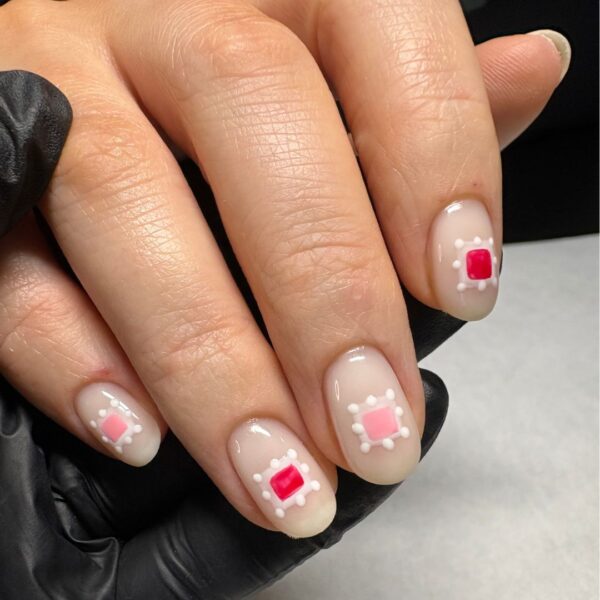
Using Statement Gels in Fondant Fancy and Indulgent Heart, add a colourful square to the centre of each stamp shape, and cure. I used Fondant Fancy on the pinkies, middle fingers and thumbs, and Indulgent Heart on the index and ring fingers.
Step 4
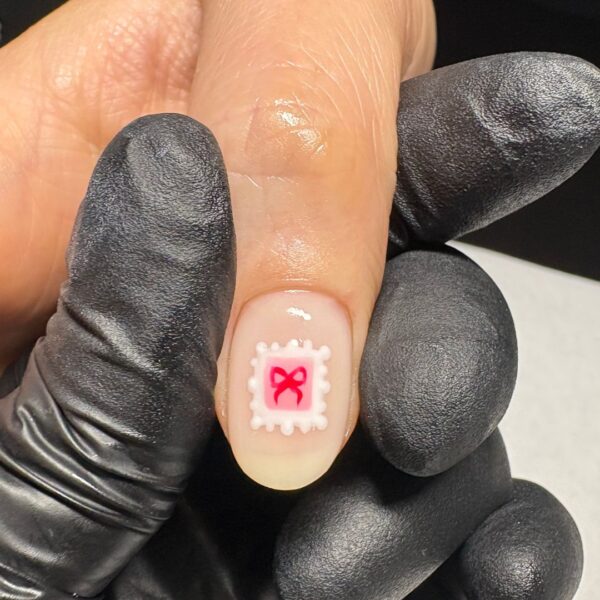
Using a thin nail art brush and Statement Gel in Indulgent Heart, paint a bow in the centre of each thumb stamp. Cure.
Step 5

Using the Neat + Tidy Dotting Tool and Statement Gel in Indulgent Heart, add two dots to each middle finger stamp. Cure, then connect the dots using Statement Gel in Positively Playful and a thin nail brush to create cherries. Cure.
Step 6
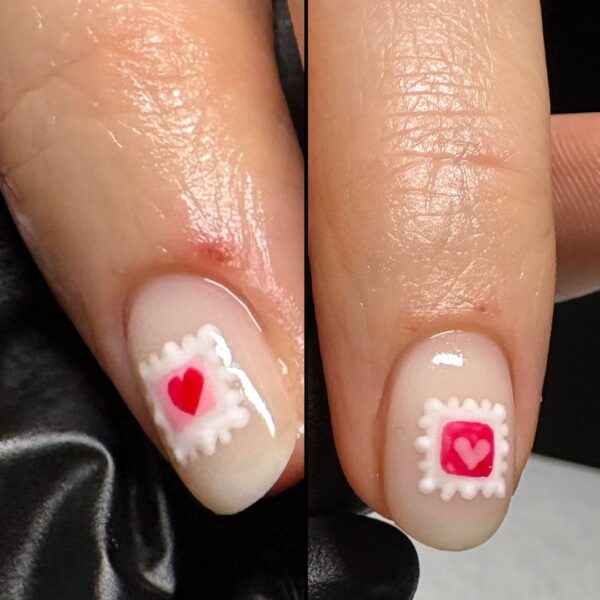
Using a thin nail brush and Statement Gels in Fondant Fancy and Indulgent Heart, paint hearts in contrasting colours on the pinkie and index finger stamps. Cure.
Step 7
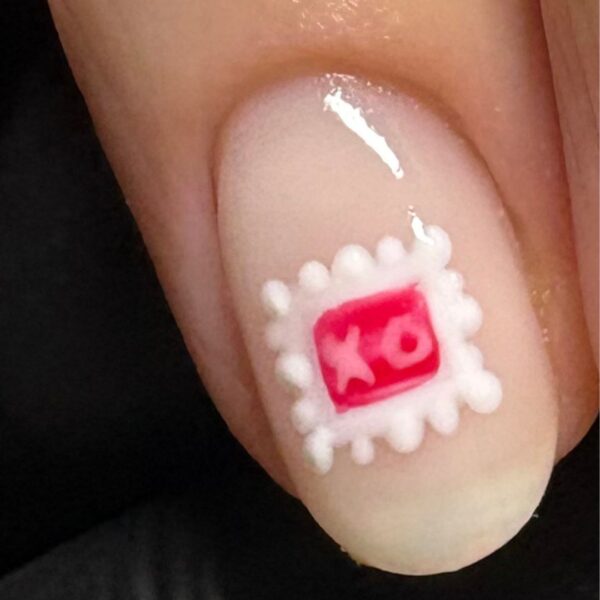
Using a thin nail art brush and Statement Gel in Fondant Fancy, write a personalised message on the ring finger stamps - for example, the first initial of a loved one's name or XO, as shown here. Cure.
Step 8
Apply Seal + Shine No-Wipe Gel Topcoat and cure to finish.