How to create romantic Valentine’s swirl nails

Seasonal & Occasions, Step by Step
Magpie Beauty brand partner, Rachel Mansfield of Pretty Perfect Nails, reveals how to create a trendy swirl nail design for Valentine’s Day.
Are you enjoying this content?
Join our community to receive more like this
Are you enjoying this content?
Join our community to receive more like this
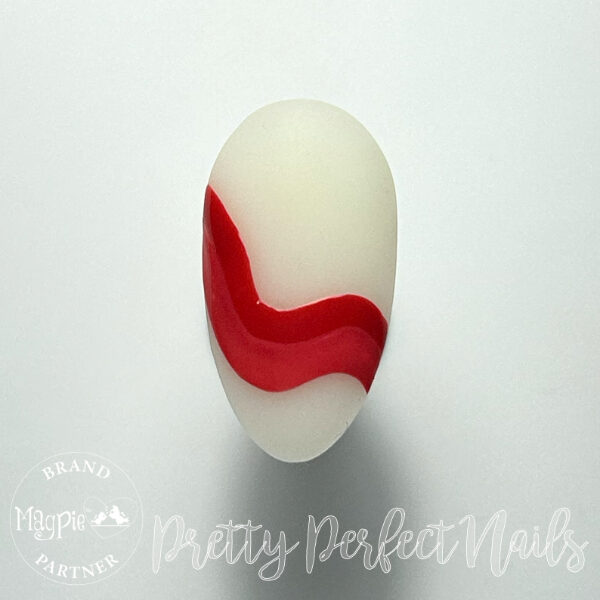
Step 1

Apply two coats of a nude or natural base, curing in between layers. Wipe the tacky layer off with Magpie Beauty Prep & Dehydrate. Using Magpie's ARTYgel gel paint in Chilli, paint a wavy line halfway up the nail. Cure.
Step 2
Mix ARTYgels in White and Chilli to create a shade you’re happy with, then paint it below the first line. Cure.
Step 3
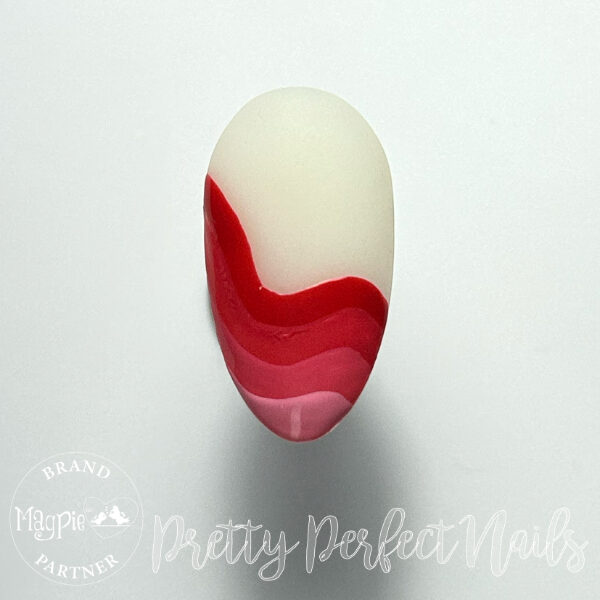
Repeat step two until the wavy lines reach the tip of the nail, adding more White each time to create a gradient. Cure after each line.
Step 4
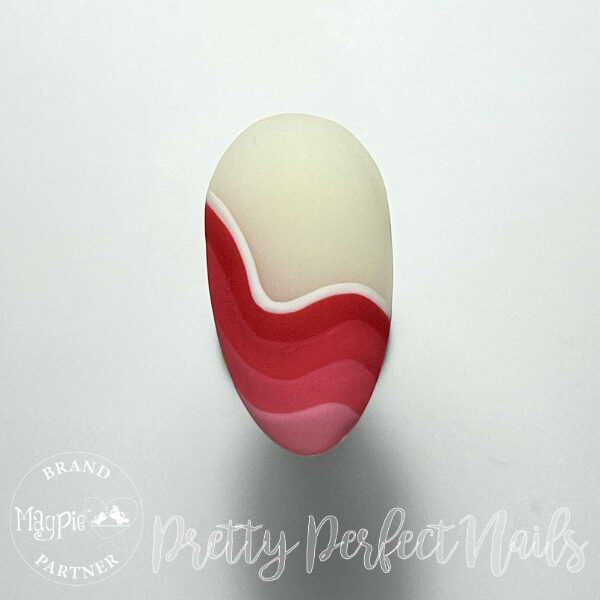
Using ARTYgel in White, paint a thin line against the first red line and cure. Add a matte top coat and cure.
Step 5
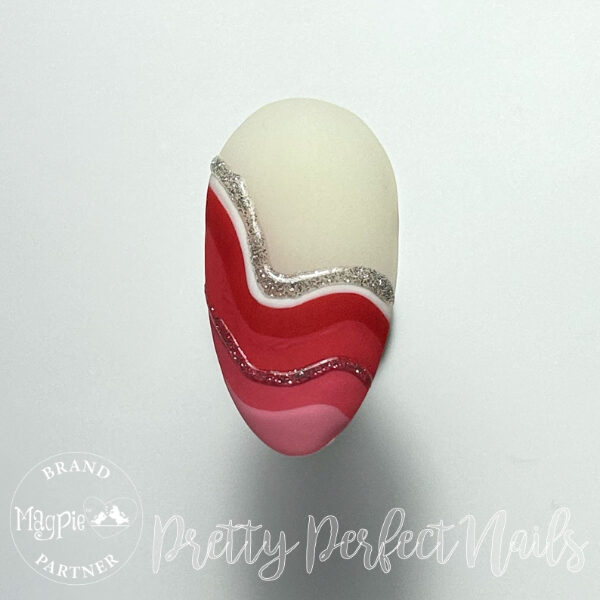
Mixing a silver glitter with top coat, paint a thin line next to the white, and another next to one of the mixed red shades. Cure.
Step 6
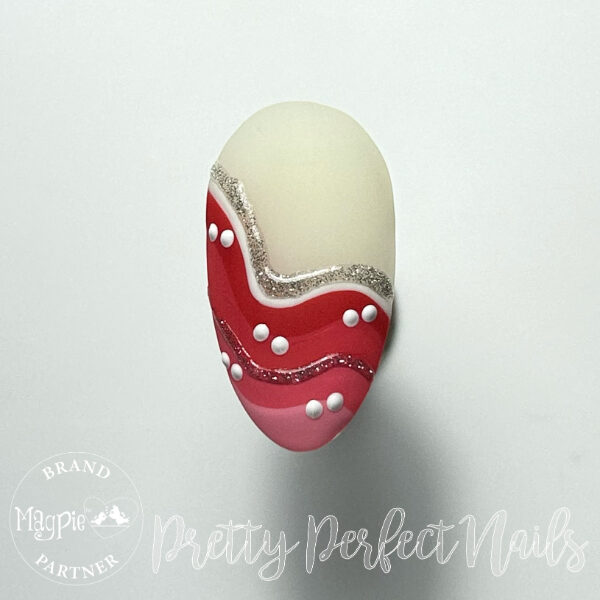
Using the White ARTYgel and a dotting tool, add two small dots where you want to place your hearts.
Step 7
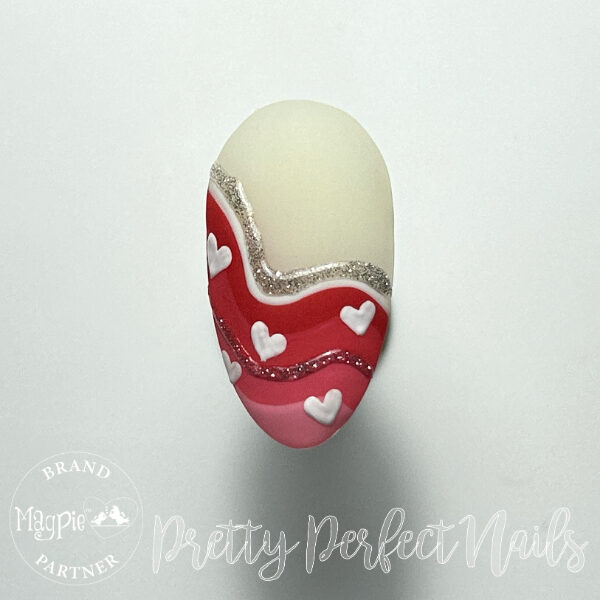
Join up the dots to create hearts on the nail and cure.
Step 8
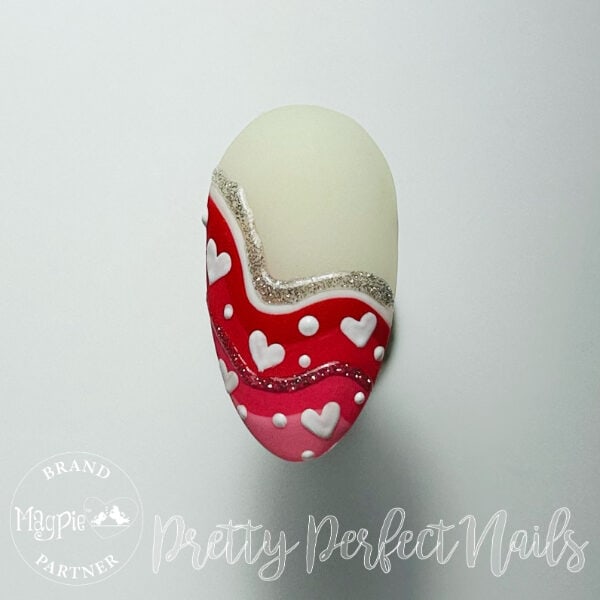
Using a dotting tool, place random sized dots in between the hearts and cure to finish the look.