How to create waffle nail art: step-by-step

Step by Step, Themed
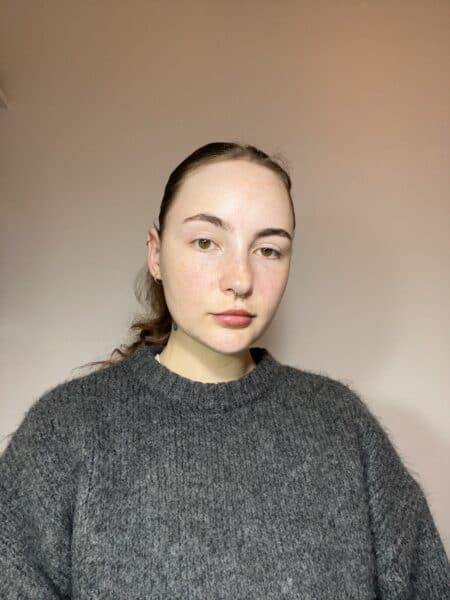
Maddy Corbett of @guglyclawz resides in Perth, Western Australia, and has been honing her nail art skills for three and a half years. She specialises in colourful, 3D, maximalist art on natural nails.
Are you enjoying this content?
Join our community to receive more like this
Here, Maddy provides a guide for creating delectable waffle nails…
Are you enjoying this content?
Join our community to receive more like this
You will need:
- Fine liner brush.
- Scraping tool.
- Silicone tool.
- White 3D sculpting clay.
- Clear 3D gel.
- Light yellow, dark brown and amber jelly gel polishes.
Step 1
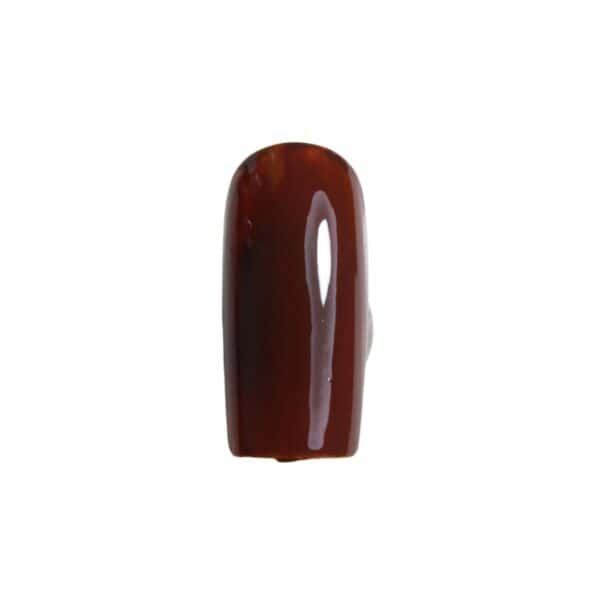
Apply a coat of dark brown jelly gel polish to the nail and cure.
Step 2
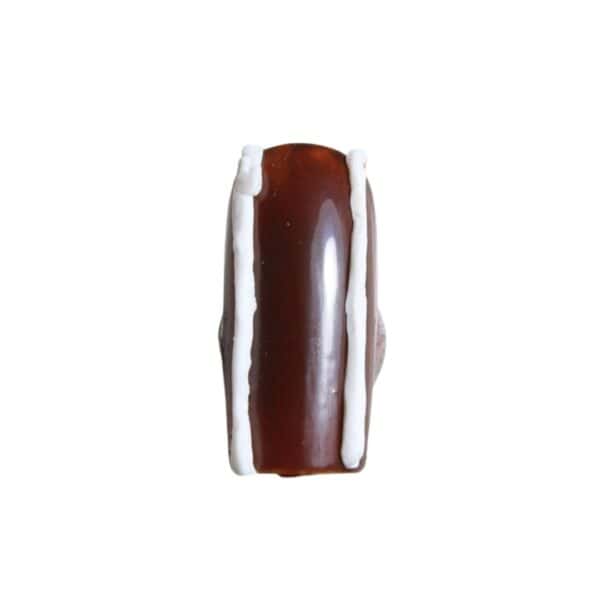
Remove the inhibition layer and roll out a piece of white 3D sculpting clay into one long strip. From this, cut two strips using a scraping tool and place vertically down the nail, close to each side. Note: If you have yellow 3D sculpting clay, use this instead, and skip Step 4.
Step 3
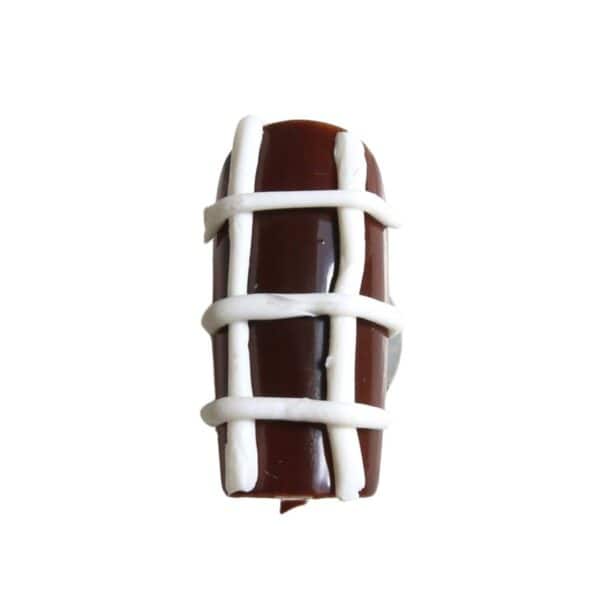
Cut three strips of white 3D sculpting clay and place horizontally across the nail. Use a pointed silicone tool to straighten up the lines if desired, then cure.
Step 4
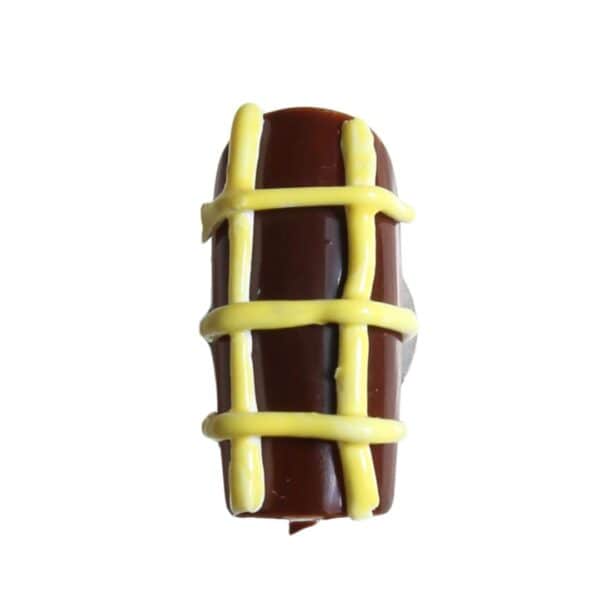
Paint the white clay using a fine liner brush and light yellow jelly gel polish. Cure.
Step 5
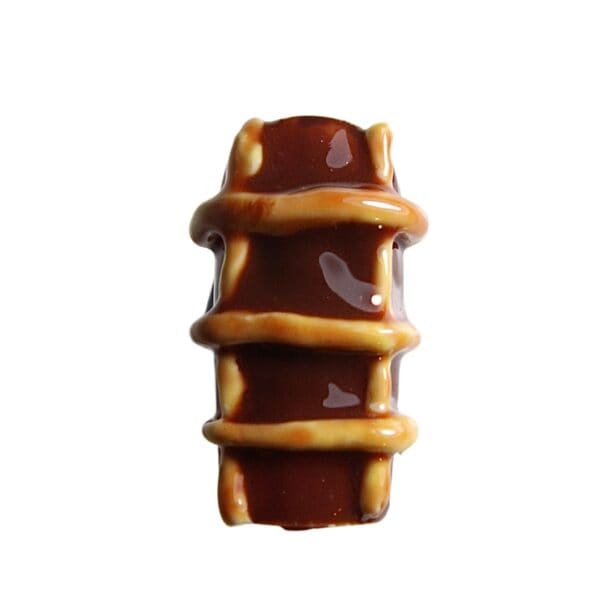
Mix equal parts of an amber jelly gel polish and clear 3D gel, and add a small amount of dark brown jelly gel polish to deepen the colour. The formula should be a slightly runny consistency for a syrup-like effect. Load up the liner brush with the mix and apply over the entire nail. Cure, apply a glossy top coat and cure to finish.